/
Tag Management
Tag Management
- Philippe Mack
- Juliana Fonseca Paim (Unlicensed)
- Joanna Huddleston
Owned by Philippe Mack
Last updated: Apr 20, 2023 by Juliana Fonseca Paim (Unlicensed)
Create New Tag
Be able to create a new tag, delete or truncate tags.
To create New tag:
This step creates a new empty tag within the DMlake, this is the first step required to create computed tags.
- Click Manage > Tags in the main menu.
- In Explore page, click on + New tag.
- Folder changes automatically as the user selects through the folder structure. This is the folder location for the new tag to be saved in.
- Insert Tag name.
- Insert Title (optional).
- Select Type. Options: Numerical or Symbolic.
- Insert Unit (optional).
- Insert Description (optional).
- Click Save.
Delete Tags
To delete tags:
To remove tag name and its data from the Lake.
- Click Manage > Delete Tags in the main menu.
- Select Folder where the tag is stored.
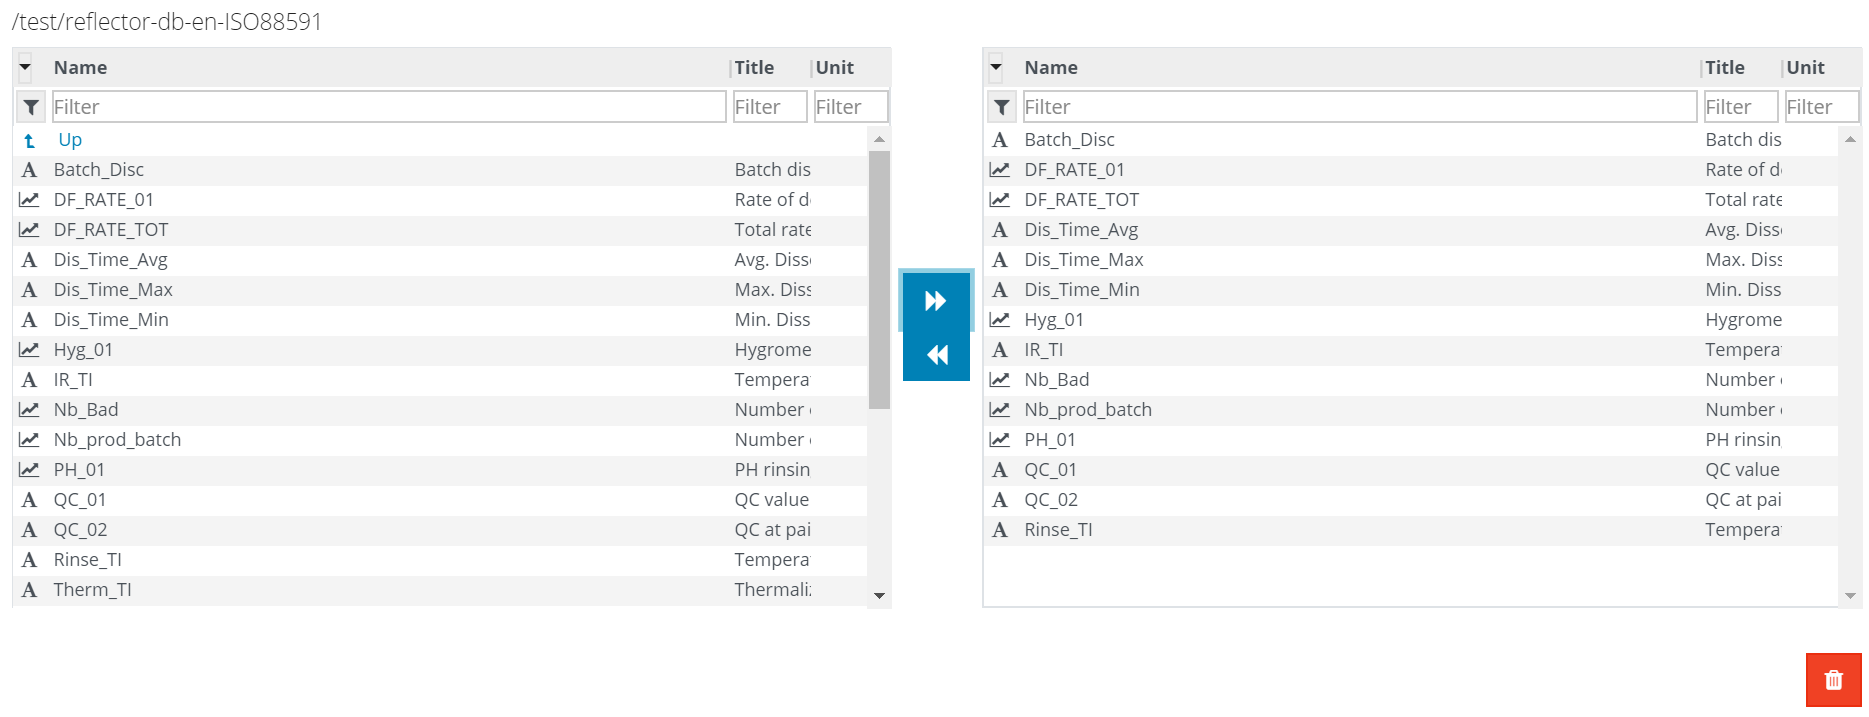
- Select the Tag(s) from the tags’ lists and click the Right arrow. To remove a tag from the “to delete” list, select the tag and click the Left Arrow.
- Click Delete
 .
.
Truncate tags
To truncate tags:
To remove data for a selection of tags from a particular date onwards.
- Click Manage > Truncate tags in the main menu.
- Select Folder where the tag is stored.
- Select Tags from the tags’ lists and click the Right arrow. To remove a tag from the list, select the tag and click Left Arrow.
- Select Start date, for the selected tag(s), all data from this date will be deleted.
- Click Truncate.
Archive tags
To archive tags (advanced users only):
To archive data for a selection of tags from a particular date onwards.
- Click Manage > Archive tags in the main menu.
- Select tags to archive from the tags’ lists and click the Right arrow. To remove a tag from the list, select the tag and click Left Arrow.
- Select Start date, for the selected tag(s), all data from this date will be archived.
- Click Archive.
Create New Folder
To create a new folder:
- Click Manage > New Folder in the main menu.
- Select a Base Folder from the list. This is equivalent to the folder/folder in which the new (sub-)folder will be located.
- Enter the name of the New Folder.
- Click Create.
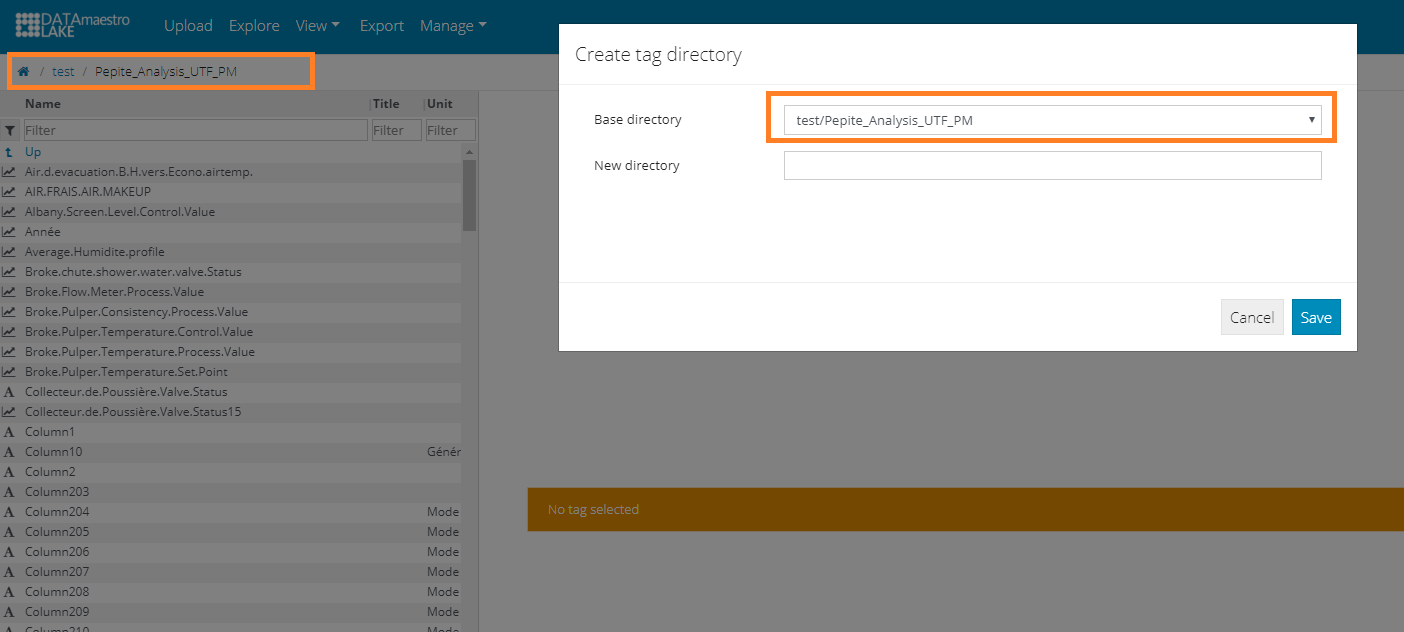
There is also an option of creating a new folder using Explore.
- Click on Explore.
- Click on + New Folder button.
- Select Base Folder. Note that Base Folder is automatically selected based on the current folder used to explore data.
- Select New Folder.
- Click Save.
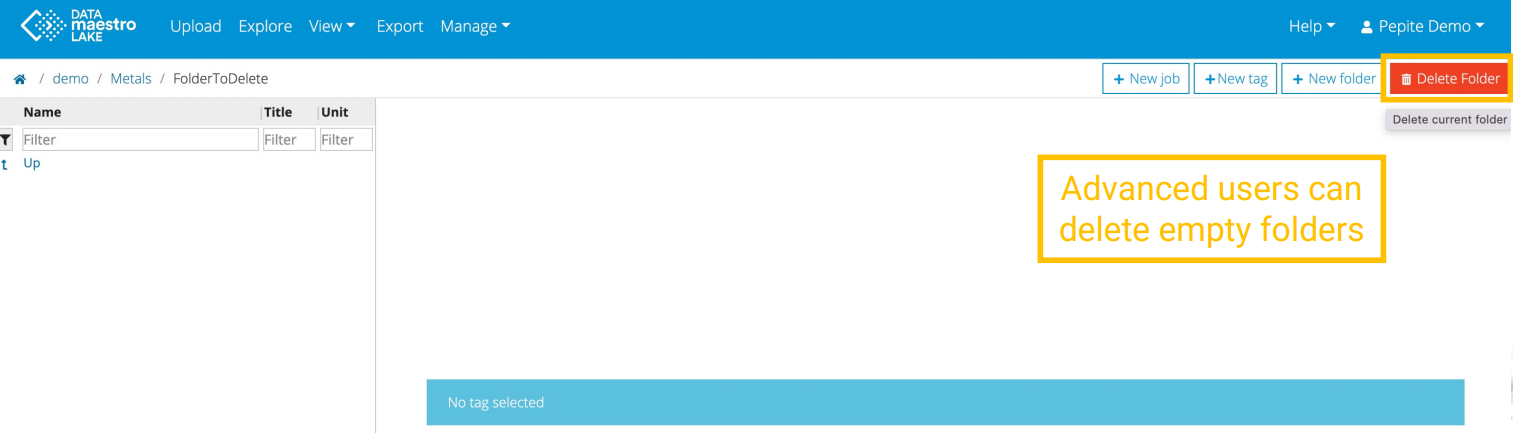
Delete empty Lake folders (for Administrators users only)
, multiple selections available,
Related content
Tag mapping
Tag mapping
More like this
Computed tags
Computed tags
More like this
Jobs
Read with this
Projects
Projects
Read with this
Quick Start
Quick Start
Read with this
View
More like this